The organizer is entitled to do custom settings for the event's registration.
It may involve personalizing the registration form or enabling/ disabling the Registration Buttons (Interested/ Request a Booth) on the event listing page.
A. REGISTRATION FORM
The RSVP registration form for users' login, can be custom-made by the organizer.
Refer to the below-mentioned steps:
Step 1. Enter the Dashboard and click on Registration settings under Registration & Ticket from the left panel.
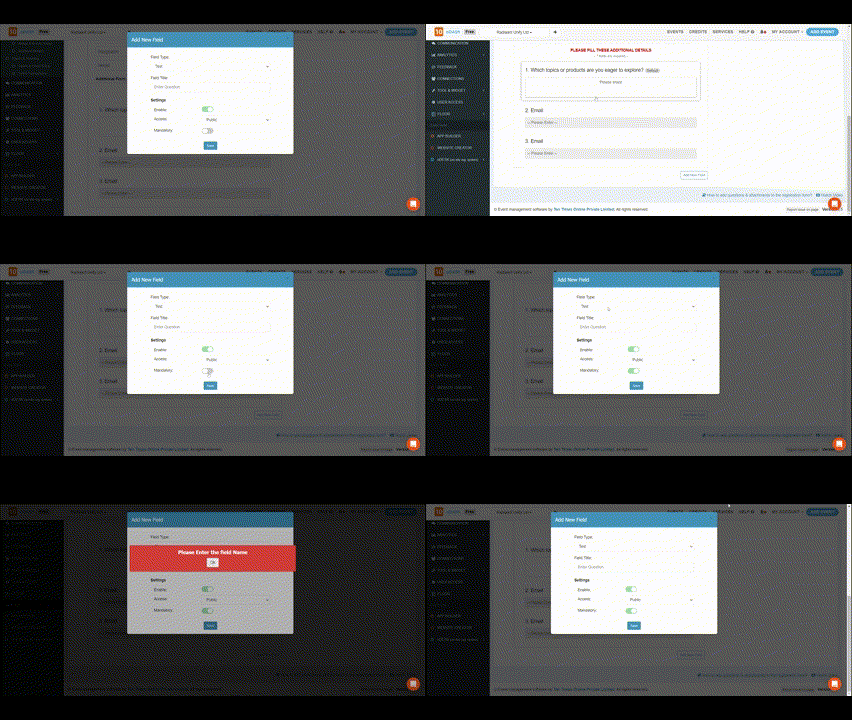
Step 2. Scroll down the Registration Settings page and check the RSVP Registration Form and click on "+ Add Question". (Refer to the below GIF).

Step 3. Now add the question about which information you want from your potential attendees to answer. (Refer to the below image.)
Note: we suggest organizers ask for an alternative email address, contact number, or which products they would want to explore.
Step 4: Select the "Input type" in which form you are collecting the answers from potential attendees or Leads.
There are 4 ways in which you can take as mentioned below:
Text
Select-box
Multi-select
File upload
Choose the format in which you need to acquire the input.
Step 5: Click on the settings icon as shown in the below image.
Step 6: If you want it to be a "Mandatory" field, then turn on this toggle.

Access: So, we have a feature on FLOOR wherein a user can update the profile after logging in and can exchange his/ her business card with other participants.
By keeping this Public, the attachments of the users would be visible to all other users who view their profiles from Lobby or through Business cards.
However, as the name says, keeping it Private, no one will be able to view their attachments in their profile, not even in the business cards
Max number of files uploaded: The organizer can choose how many files can be uploaded by the user. (The recommended max size is 5 MB for all the files together)
Step 7. Click on Save
To know how the user can upload the attachments, edit them during the event and where all would it be visible, kindly refer to this article.
B. Customize Your Registration Form Details
The new feature allows you to add custom questions to your registration form while collecting details from registrants. While creating the custom questions, you can select which standard options (text, multi-select, checkbox, or upload) to display on the registration form.
C. FORM SETTINGS
You can also do the settings for stall bookings and visitor registration requests.
To know more click here.
Please watch the below video for better clarity:
Was this article helpful?
That’s Great!
Thank you for your feedback
Sorry! We couldn't be helpful
Thank you for your feedback
Feedback sent
We appreciate your effort and will try to fix the article


